How I automate my Substack newsletter with content from my blog
19th November 2025
I sent out my weekly-ish Substack newsletter this morning and took the opportunity to record a YouTube video demonstrating my process and describing the different components that make it work. There’s a lot of digital duct tape involved, taking the content from Django+Heroku+PostgreSQL to GitHub Actions to SQLite+Datasette+Fly.io to JavaScript+Observable and finally to Substack.
The core process is the same as I described back in 2023. I have an Observable notebook called blog-to-newsletter which fetches content from my blog’s database, filters out anything that has been in the newsletter before, formats what’s left as HTML and offers a big “Copy rich text newsletter to clipboard” button.
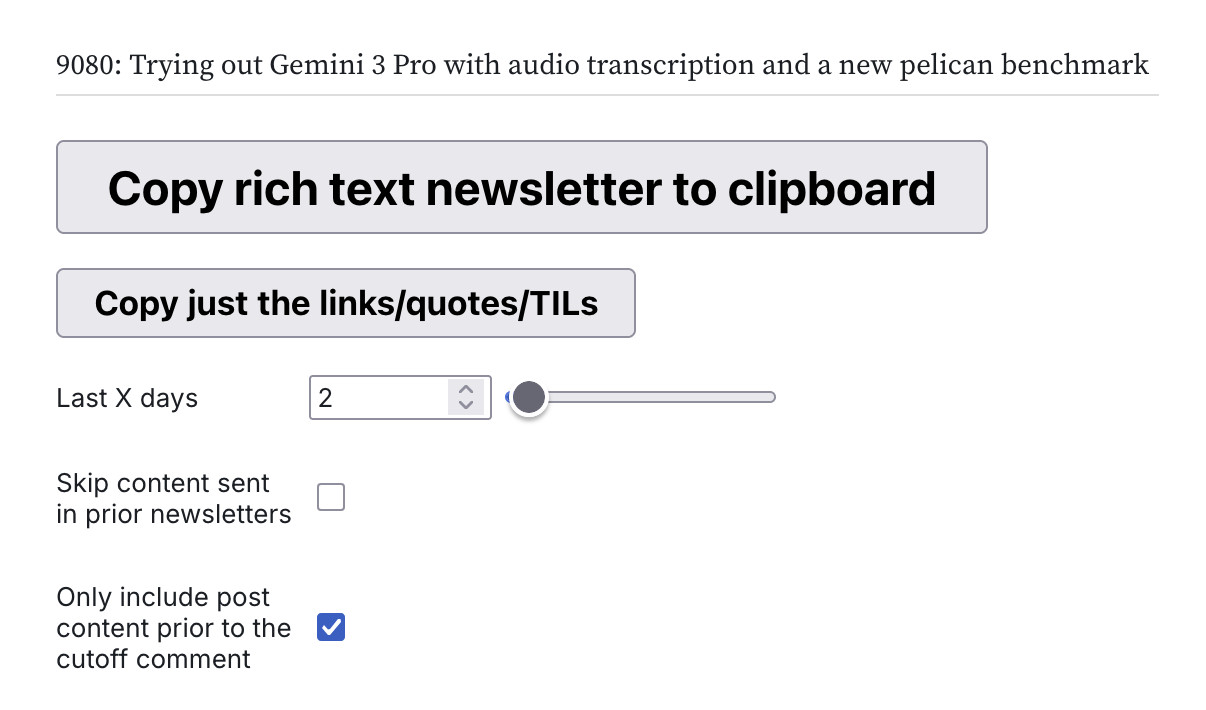
I click that button, paste the result into the Substack editor, tweak a few things and hit send. The whole process usually takes just a few minutes.
I make very minor edits:
- I set the title and the subheading for the newsletter. This is often a direct copy of the title of the featured blog post.
- Substack turns YouTube URLs into embeds, which often isn’t what I want—especially if I have a YouTube URL inside a code example.
- Blocks of preformatted text often have an extra blank line at the end, which I remove.
- Occasionally I’ll make a content edit—removing a piece of content that doesn’t fit the newsletter, or fixing a time reference like “yesterday” that doesn’t make sense any more.
- I pick the featured image for the newsletter and add some tags.
That’s the whole process!
The Observable notebook
The most important cell in the Observable notebook is this one:
raw_content = {
  return await (
    await fetch(
      `https://datasette.simonwillison.net/simonwillisonblog.json?sql=${encodeURIComponent(
        sql
      )}&_shape=array&numdays=${numDays}`
    )
  ).json();
}
This uses the JavaScript fetch() function to pull data from my blog’s Datasette instance, using a very complex SQL query that is composed elsewhere in the notebook.
Here’s a link to see and execute that query directly in Datasette. It’s 143 lines of convoluted SQL that assembles most of the HTML for the newsletter using SQLite string concatenation! An illustrative snippet:
with content as (
  select
    id,
    'entry' as type,
    title,
    created,
    slug,
    '<h3><a href="' || 'https://simonwillison.net/' || strftime('%Y/', created)
      || substr('JanFebMarAprMayJunJulAugSepOctNovDec', (strftime('%m', created) - 1) * 3 + 1, 3)
      || '/' || cast(strftime('%d', created) as integer) || '/' || slug || '/' || '">'
      || title || '</a> - ' || date(created) || '</h3>' || body
      as html,
    'null' as json,
    '' as external_url
  from blog_entry
  union all
  # ...
My blog’s URLs look like /2025/Nov/18/gemini-3/—this SQL constructs that three letter month abbreviation from the month number using a substring operation.
This is a terrible way to assemble HTML, but I’ve stuck with it because it amuses me.
The rest of the Observable notebook takes that data, filters out anything that links to content mentioned in the previous newsletters and composes it into a block of HTML that can be copied using that big button.
Here’s the recipe it uses to turn HTML into rich text content on a clipboard suitable for Substack. I can’t remember how I figured this out but it’s very effective:
Object.assign(
  html`<button style="font-size: 1.4em; padding: 0.3em 1em; font-weight: bold;">Copy rich text newsletter to clipboard`,
  {
    onclick: () => {
      const htmlContent = newsletterHTML;
      // Create a temporary element to hold the HTML content
      const tempElement = document.createElement("div");
      tempElement.innerHTML = htmlContent;
      document.body.appendChild(tempElement);
      // Select the HTML content
      const range = document.createRange();
      range.selectNode(tempElement);
      // Copy the selected HTML content to the clipboard
      const selection = window.getSelection();
      selection.removeAllRanges();
      selection.addRange(range);
      document.execCommand("copy");
      selection.removeAllRanges();
      document.body.removeChild(tempElement);
    }
  }
)
From Django+Postgresql to Datasette+SQLite
My blog itself is a Django application hosted on Heroku, with data stored in Heroku PostgreSQL. Here’s the source code for that Django application. I use the Django admin as my CMS.
Datasette provides a JSON API over a SQLite database... which means something needs to convert that PostgreSQL database into a SQLite database that Datasette can use.
My system for doing that lives in the simonw/simonwillisonblog-backup GitHub repository. It uses GitHub Actions on a schedule that executes every two hours, fetching the latest data from PostgreSQL and converting that to SQLite.
My db-to-sqlite tool is responsible for that conversion. I call it like this:
db-to-sqlite \
  $(heroku config:get DATABASE_URL -a simonwillisonblog | sed s/postgres:/postgresql+psycopg2:/) \
  simonwillisonblog.db \
  --table auth_permission \
  --table auth_user \
  --table blog_blogmark \
  --table blog_blogmark_tags \
  --table blog_entry \
  --table blog_entry_tags \
  --table blog_quotation \
  --table blog_quotation_tags \
  --table blog_note \
  --table blog_note_tags \
  --table blog_tag \
  --table blog_previoustagname \
  --table blog_series \
  --table django_content_type \
  --table redirects_redirect
That heroku config:get DATABASE_URL command uses Heroku credentials in an environment variable to fetch the database connection URL for my blog’s PostgreSQL database (and fixes a small difference in the URL scheme).
db-to-sqlite can then export that data and write it to a SQLite database file called simonwillisonblog.db.
The --table options specify the tables that should be included in the export.
The repository does more than just that conversion: it also exports the resulting data to JSON files that live in the repository, which gives me a commit history of changes I make to my content. This is a cheap way to get a revision history of my blog content without having to mess around with detailed history tracking inside the Django application itself.
At the end of my GitHub Actions workflow is this code that publishes the resulting database to Datasette running on Fly.io using the datasette publish fly plugin:
datasette publish fly simonwillisonblog.db \
  -m metadata.yml \
  --app simonwillisonblog-backup \
  --branch 1.0a2 \
  --extra-options "--setting sql_time_limit_ms 15000 --setting truncate_cells_html 10000 --setting allow_facet off" \
  --install datasette-block-robots \
  # ... more plugins
As you can see, there are a lot of moving parts! Surprisingly it all mostly just works—I rarely have to intervene in the process, and the cost of those different components is pleasantly low.
More recent articles
- Meta's new model is Muse Spark, and meta.ai chat has some interesting tools - 8th April 2026
- Anthropic's Project Glasswing - restricting Claude Mythos to security researchers - sounds necessary to me - 7th April 2026
- The Axios supply chain attack used individually targeted social engineering - 3rd April 2026