I built an automaton called Squadron
4th March 2025
I believe that the price you have to pay for taking on a project is writing about it afterwards. On that basis, I feel compelled to write up my decidedly non-software project from this weekend: Squadron, an automaton.
I’ve been obsessed with automata for decades, ever since I first encountered the Cabaret Mechanical Theater in Covent Garden in London (there from 1984-2003—today it’s a roaming collection). If you’re not familiar with them, they are animated mechanical sculptures. I consider them to be the highest form of art.
For my birthday this year Natalie signed me up for a two day, 16 hour hour weekend class to make one at The Crucible in Oakland. If you live in the SF Bay Area and are not yet aware of the Crucible I’m delighted to introduce you—it’s a phenomenal non-profit art school with an enormous warehouse that teaches blacksmithing, glass blowing, welding, ceramics, woodwork and dozens of other crafts. Here’s their course catalog. Go enrich your soul!
I took their class in “Mechanical Sculpture”, which turned out to be exactly a class in how to make automata. I guess the term “automota” isn’t widely enough known to use in the course description!
The class was small—two students and one instructor—which meant that we got an extremely personalized experience.
What I built
On day one we worked together on a class project. I suggested a pelican, and we built exactly that—a single glorious pelican that flapped its wings and swooped from side to side.
Day two was when we got to build our own things. We’d already built a pelican, but I wanted one of my own... so I figured the only thing better than a pelican is a full squadron of them!
Hence, Squadron. Here’s a video of my finished piece in action:
I think it captures their pelican charisma pretty well!
How I built it
I was delighted to learn from the class that the tools needed to build simple automata are actually quite accessible:
- A power drill
- A saw—we used a Japanese pull saw
- Wood glue
- Screws
- Wood—we mainly worked with basswood, plus I used some poplar wood for the wings
- Brass wires and rods
- Pliers for working with the wire
The most sophisticated tool we used was a reciprocating scroll saw, for cutting shapes out of the wood. We also had access to a bench sander and a drill press, but those really just sped up processes that can be achieved using sand paper and a regular hand drill.
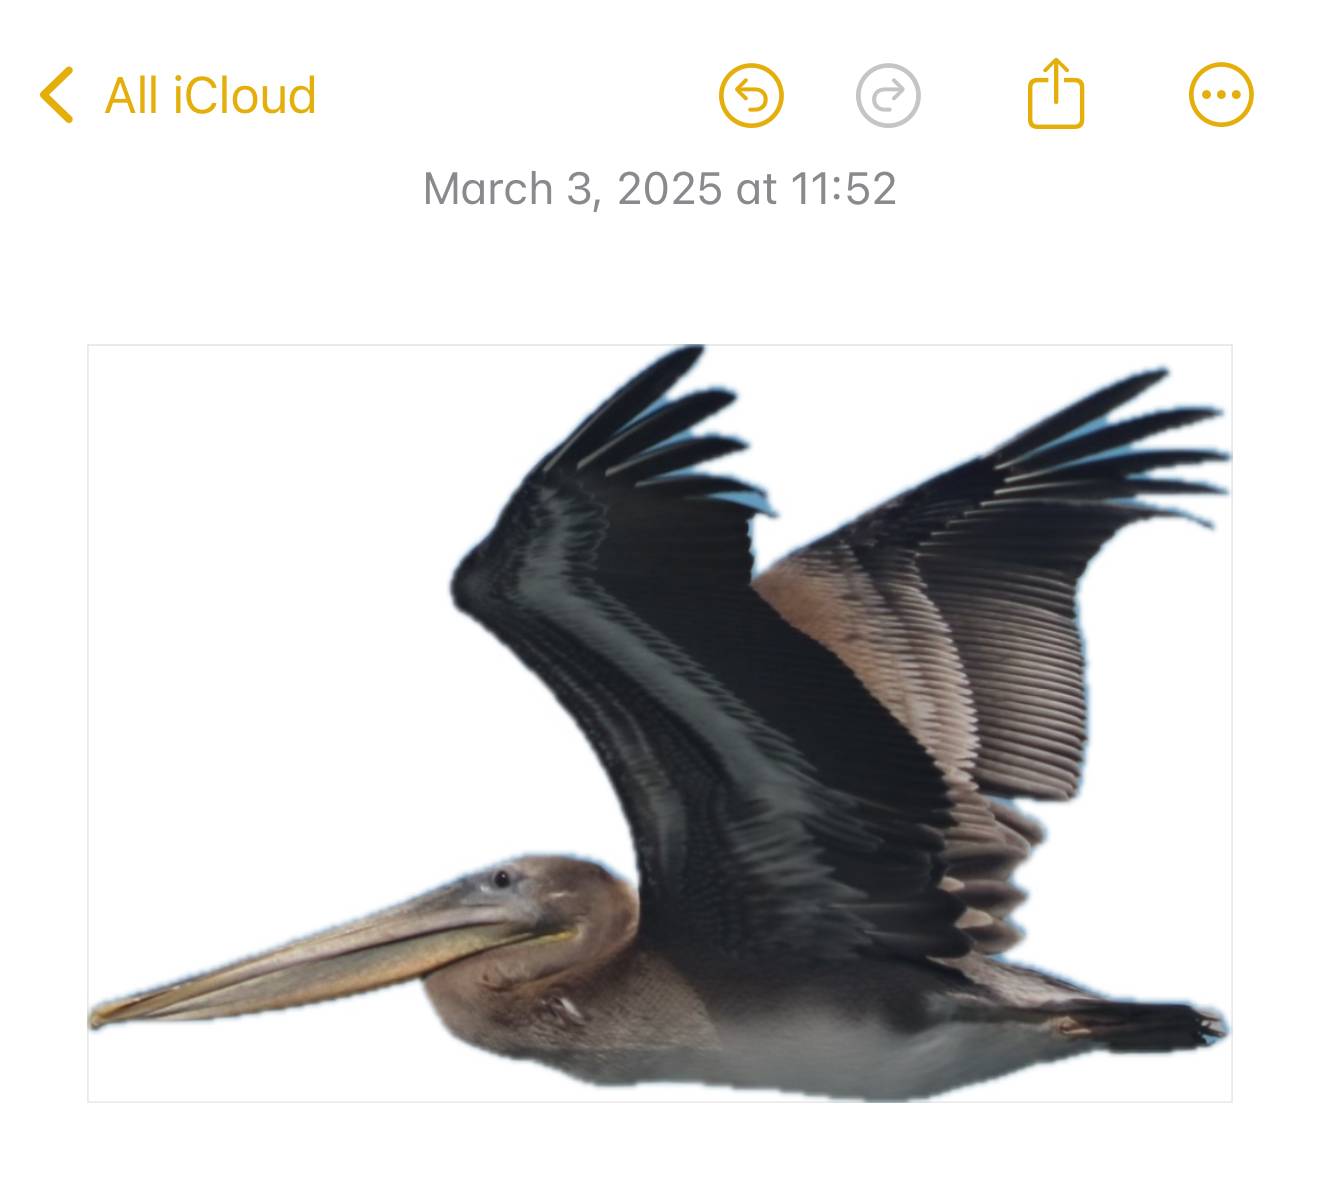
I’ve taken a lot of photos of pelicans over the years. I found this side-on photograph that I liked of two pelicans in flight:

Then I used the iOS Photos app feature where you can extract an object from a photo as a “sticker” and pasted the result into iOS Notes.
I printed the image from there, which gave me a pelican shape on paper. I cut out just the body and used it to trace the shape onto the wood, then ran the wood through the scroll saw. I made three of these, not paying too much attention to accuracy as it’s better for them to have slight differences to each other.
For the wings I started with rectangles of poplar wood, cut using the Japanese saw and attached to the pelican’s body using bent brass wire through small drilled holes. I later sketched out a more interesting wing shape on some foam board as a prototype (loosely inspired by photos I had taken), then traced that shape onto the wood and shaped them with the scroll saw and sander.
Most automata are driven using cams, and that was the pattern we stuck to in our class as well. Cams are incredibly simple: you have a rotating rod (here driven by a 12V 10RPM motor) and you attach an offset disc to it. That disc can then drive all manner of useful mechanisms.
For my pelicans the cams lift rods up and down via a “foot” that sits on the cam. The feet turned out to be essential—we made one from copper and another from wood. Without feet the mechanism was liable to jam.
I made both cams by tracing out shapes with a pencil and then cutting the wood with the scroll saw, then using the drill press to add the hole for the rod.
The front pelican’s body sits on a brass rod that lifts up and down, with the wings fixed to wires.
The back two share a single wooden dowel, sitting on brass wires attached to two small holes drilled into the end.
To attach the cams to the drive shaft I drilled a small hole through the cam and the brass drive shaft, then hammered in a brass pin to hold the cam in place. Without that there’s a risk of the cam slipping around the driving rod rather than rotating firmly in place.
After adding the pelicans with their fixed wings I ran into a problem: the tension from the wing wiring caused friction between the rod and the base, resulting in the up-and-down motion getting stuck. We were running low on time so our instructor stepped in to help rescue my project with the additional brass tubes shown in the final piece.
What I learned
The main thing I learned from the weekend is that automata building is a much more accessible craft than I had initially expected. The tools and techniques are surprisingly inexpensive, and a weekend (really a single day for my solo project) was enough time to build something that I’m really happy with.
The hardest part turns out to be the fiddling at the very end to get all of the motions just right. I’m still iterating on this now (hence the elastic hair tie and visible pieces of tape)—it’s difficult to find the right balance between position, motion and composition. I guess I need to get comfortable with the idea that art is never finished, merely abandoned.
I’ve been looking out for a good analog hobby for a while now. Maybe this is the one!
More recent articles
- Porting the Moebius 0.2B image inpainting model to run in the browser with Claude Code - 22nd June 2026
- sqlite-utils 4.0rc1 adds migrations and nested transactions - 21st June 2026
- Datasette Apps: Host custom HTML applications inside Datasette - 18th June 2026